
A framework-first approach to dark-sky compliance
Singapore lah, we also care about the stars — but city lights make that hard. This framework gives you clear layers to reduce light pollution while keeping safety and aesthetics intact. Start with simple control rules, then sort luminaire optics and finally mount detailing. If you want ready equipment, consider an outdoor wall lights motion sensor as part of your control layer: low-power standby, motion-triggered boost, and programmable schedules keep unnecessary light off when no one around. Keep things modular and you can iterate without ripping out poles or changing the whole façade.

Three-layer framework: control → optics → mounting
Think of this like building blocks. First layer: controls — timers, motion sensor, and dimming presets. Second: optics — cutoff fixtures, beam angle selection, and correct correlated color temperature (CCT). Third: mounting and shielding — precision pier-mount geometry, hooding, and full shielding to prevent uplight. Together they deliver compliance with dark-sky goals and practical site needs. The International Dark-Sky Association reports that more than 80% of people worldwide live under light-polluted skies, so this layered method matters beyond mere compliance — it’s about public good and visual comfort.
Design layer: optics and light quality
Start by specifying luminous output and spectral content that suit the site. Aim for lower lumens than you think you need; use targeted beam angles instead of blasting wide spreads. Choose CCT around 2700K–3000K for soft, warm tones that reduce blue-rich emissions and glare. Use fixtures with true cutoff to stop direct uplight and preserve night sky. Also ask for IES files during design review so you can simulate spill and lux levels — better than guessing and retrofitting later.
Pier-mount mechanics and precision shielding
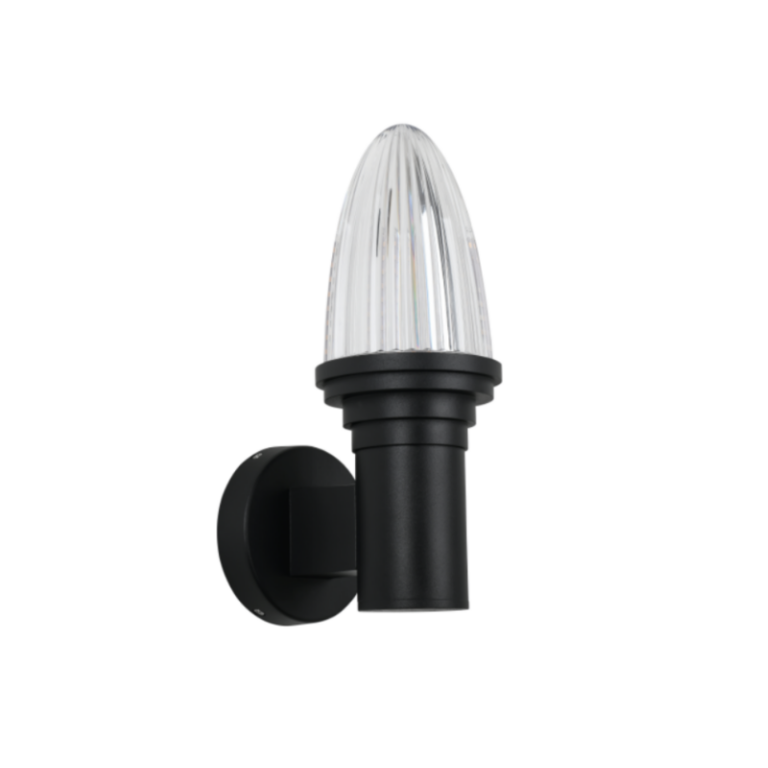
Pier mounts need tight tolerances. Mount height, overhang, and over-mount shields determine spill on neighboring windows and the amount of skyglow. Specify cut-off shields or full visors, and insist on tested glare ratings. For coastal or high-humidity sites pick an IP65-rated housing to keep ingress out and optics stable. If you want a softer look for walkways or terraces, consider a soft light wall sconce that pairs with a low-profile pier mount — gives ambiant wash without throwing light up into the sky. Small detail, big impact on compliance.
Control strategies that actually save energy
Motion-based dimming plus scheduled curfews do more than save electricity — they reduce skyglow during off-peak hours. Use motion sensors with adjustable hold times and multi-level dimming rather than simple on/off. Integrate with building automation if possible, so the façade lights follow occupancy patterns. Remember latency — cheap sensors sometimes delay on/off and annoy users. Test on-site before full rollout; otherwise people will tape the sensors or defeat the system — then all that planning wasted lor.
Common mistakes and quick fixes
Many projects fail not from bad intentions but from three repeats of the same errors:
- Overlighting: Spec’ing unnecessarily high lumens “just to be safe” — fix by lighting calculations and staged commissioning.
- Poor shielding: Choosing decorative fixtures that leak uplight — fix by selecting full-cutoff housings or retrofittable visors.
- Mis-specified sensors: Buying motion detectors with wrong coverage patterns — fix by field testing and swapping to directional sensors.
Also don’t forget maintenance: dirt and corrosion degrade optics and change beam spread; schedule cleaning and seal checks. — Small things, big difference over time.
A practical checklist to deploy the framework
Use this short checklist on projects:
- Control: motion + dimming + schedule tested onsite.
- Optics: request IES files; specify CCT ≤3000K and true cutoff.
- Mounting: confirm pier height, shield geometry, and IP rating.
- Commissioning: verify lux levels and glare at night with on-site walkthrough.
Three golden rules for decision-makers
1) Measure first, spec later — use photometric simulations and sample installations to avoid overlighting. 2) Prioritise shielding and optics over sheer lumen count; better optics often beat more power. 3) Control is the multiplier — good sensors and scheduling reduce run-time and light trespass more than one-time dimming. If you follow these rules, you get compliance, energy savings, and happier residents.
When you need a partner who understands both the fixture and the control strategy, Keyida fits naturally into that workflow — they offer products and documentation that make the three-layer framework actually deployable on real sites. —