First glance: the problem that quietly ruins timelines
Parts that look fine on a CAD screen can betray you the moment you try to assemble or stress them. When prototypes leave the machine with invisible shrink, hairline warpage, or a misaligned boss, projects stall and costs climb. If you send a batch to custom injection molding services, you still own the outcome: specifications must translate into measurable checks before sign-off. This piece uses a problem-driven lens — identify the failure modes that derail short-run projects, then map each to practical tests you can run quickly and repeatedly.

Dimensional fidelity: the tests that prove a part is the right size
Measure critical dimensions first. Verify wall thicknesses, hole diameters, and mounting features with calipers and a CMM where available. Check core-to-cavity alignment by measuring bosses and mating faces on both sides of the part; a single millimeter shift can break fit. Compare feature true positions against the CAD using runout and positional tolerance checks. Record variances across a sample batch to expose systemic mold mismatch rather than a single bad shot.
Material behavior and mechanical checks
Material choice determines shrink, stiffness, and impact resistance. Confirm resin grade and lot against specs, then run tensile or flex tests for parts that carry load. Hardness readings identify filler inconsistencies. For components that snap or clip, cycle them repeatedly to reveal brittle failures before assembly. Small batches can hide batch-to-batch resin variability; test one piece from each material lot supplied.
Surface, aesthetics, and tactile problems that matter to users
Surface defects often signal deeper process issues. Inspect for sink marks, flow lines, burn marks, and excessive flash under consistent lighting. Measure surface roughness where finish matters to sealing or optics. For colored parts, compare color against a reference using a spectrophotometer rather than eye — a slight delta becomes obvious under product lighting. Check texture consistency across cavities; inconsistent texture hints at uneven venting or fill rates.
Assembly and functional fit: the final gate
Fit tests beat theory. Assemble prototype parts with mating electronics, seals, or fasteners exactly as intended. Torque fasteners and measure clamp force where the joint depends on compression. Validate connector insertion/removal cycles and check for interference during motion. When tolerances are tight, create a pass/fail checklist for each assembly step so you catch nonconforming parts before tooling changes escalate.
Process variation unique to short runs and rapid tooling
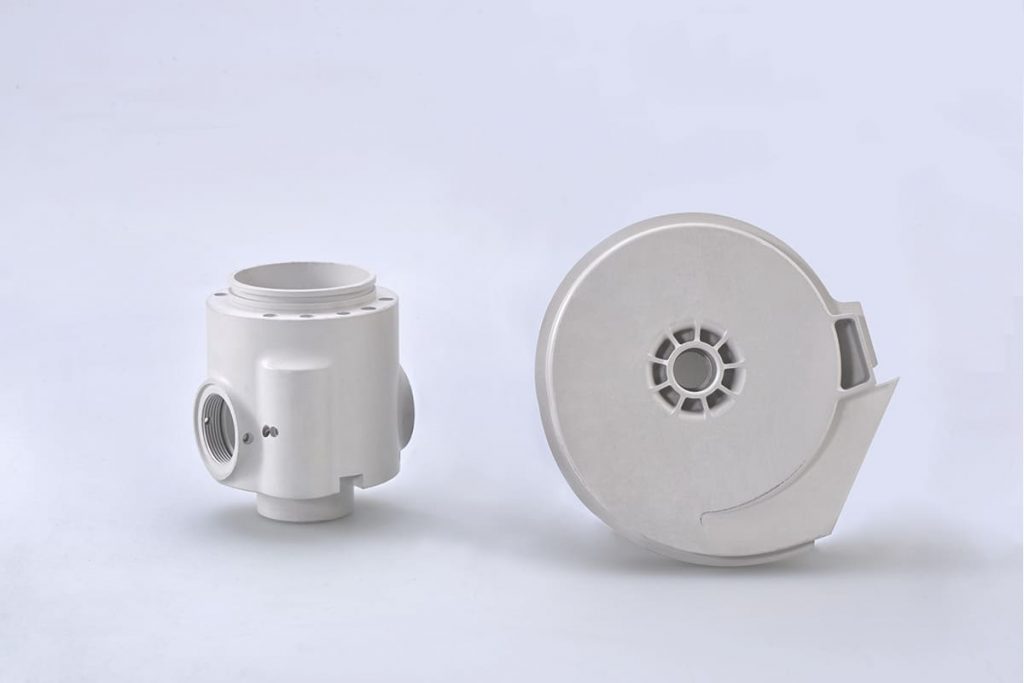
Short-run molds and prototype tooling behave differently from hardened production dies. Track cycle-to-cycle variation: shot weight, barrel temperature, and cavity pressure if sensors exist. Check for first-shot anomalies and last-shot degradation across the run. Warpage and sink can grow as the cavity heats; monitor the first dozen shots and then later samples to detect drift. For prototypes, validate gate vestige and runner removal consistency — a single sloppy gate can ruin appearance and function.
Common mistakes teams make and how to avoid them
Teams often focus only on cosmetics or only on dimensions. That split guarantees surprises. Avoid these traps: accepting a single “good” sample as representative; skipping material lot verification; failing to simulate real use (thermal cycling, drops, or humidity). Don’t treat aesthetic tweaks as separate from function — a retextured surface can change friction and seal behavior. Insist on cross-functional sign-off: design, tooling, and application engineers each perform at least one verification test.
Experience, expertise and a real-world anchor
Over years of evaluating prototypes, technicians learn that reproducible checks prevent rework. Quality engineers should maintain simple protocols: a dimensional checklist, a surface defect photo board, and a short mechanical test matrix to run on every new batch. Many low-volume shops operate within global manufacturing hubs, with Shenzhen manufacturing cluster frequently cited for rapid iteration and tooling speed; those hubs emphasize fast feedback loops between designer and molder. That practical loop is why suppliers advertise low volume injection molding — the method and the place often determine which tests are most urgent. Trust comes from records: logged measurements, material certificates, and photos tied to lot numbers.
How to prioritize tests when time and budget are tight
Start with the highest-risk features: anything that affects fit, safety, or function. If a part must mate to another, dimension and assembly checks jump to the top. If it carries load, run basic mechanical tests. Cosmetic issues get triaged by end-user visibility; parts hidden inside an assembly can tolerate more surface variance. Always validate material lot and a small process sampling first — catching a bad resin or a mis-set mold is far cheaper than retooling after a full run.
Final view: turn measured checks into confident deliveries
Quality control for injection-mold prototypes is a string of small truths: measured dimensions, documented materials, repeatable assembly. Treat tests as questions the part must answer rather than obstacles to approval. When those answers are recorded and reviewed, decision-makers move forward with less risk and clearer next steps, and you get reliable parts from partners like Hanstar without guessing.