Getting started — what matters to you
If you’re runnin’ a small lab or tryin’ to keep a production line honest, pickin’ the right kit ain’t a mystery if you keep focus on what you actually need. Folks often wander straight to vendor brochures when they oughta be askin’ how many samples a day they’ll run, what failure modes they need to catch, and whether they need custom gear — which is where custom testing equipment comes into play when standard rigs won’t fit the job. I write from hands-on time workin’ with university test labs and plant QA crews, and I steer most teams back to established rules like ASTM International standards; those standards set the baseline for repeatable results and help you pick tools that actually map to real-world requirements. For additional project-level options and vendor-side offerings, check practical references on material testing solutions.
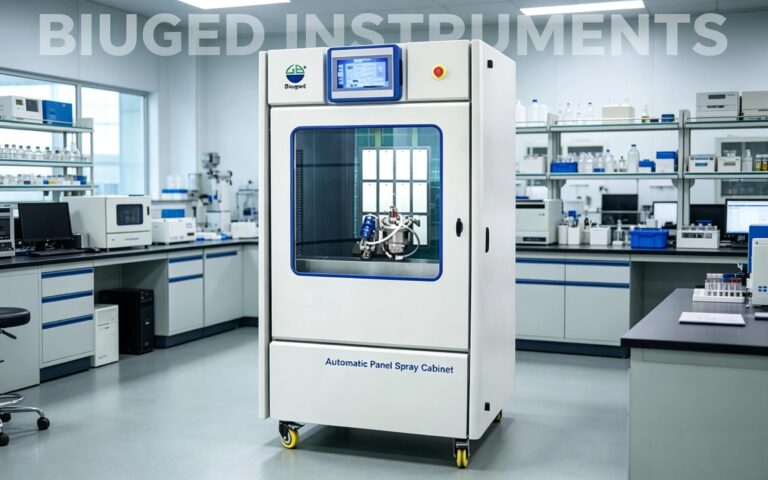
Start with the use case — be ruthless
You want a simple rule: match the instrument to the measurement, not the other way round. Say you gotta measure tensile strength on polymer strips every hour — a universal testing machine with an appropriate load cell and grips is your bread-and-butter. Need surface hardness on castings? Get a hardness tester fit for the alloy and the sample geometry. If environmental cycles matter, pick a chamber that holds temperature and humidity steady for the run. Don’t buy the fanciest model; buy the one that removes your largest source of uncertainty.
Common mistakes that’ll cost you time or money
Folks make five mistakes over and over: pickin’ gear with the wrong measurement range, skippin’ calibration plans, underestimatin’ sample prep, ignorin’ software compatibility, and forgettin’ service accessibility. Wrong range gives noisy data; no calibration makes numbers worthless; bad prep turns a good instrument into a liar; incompatible software turns data into manual drudgery; no local service turns a small fault into weeks of downtime. Make a checklist that covers each of those before you sign a PO.
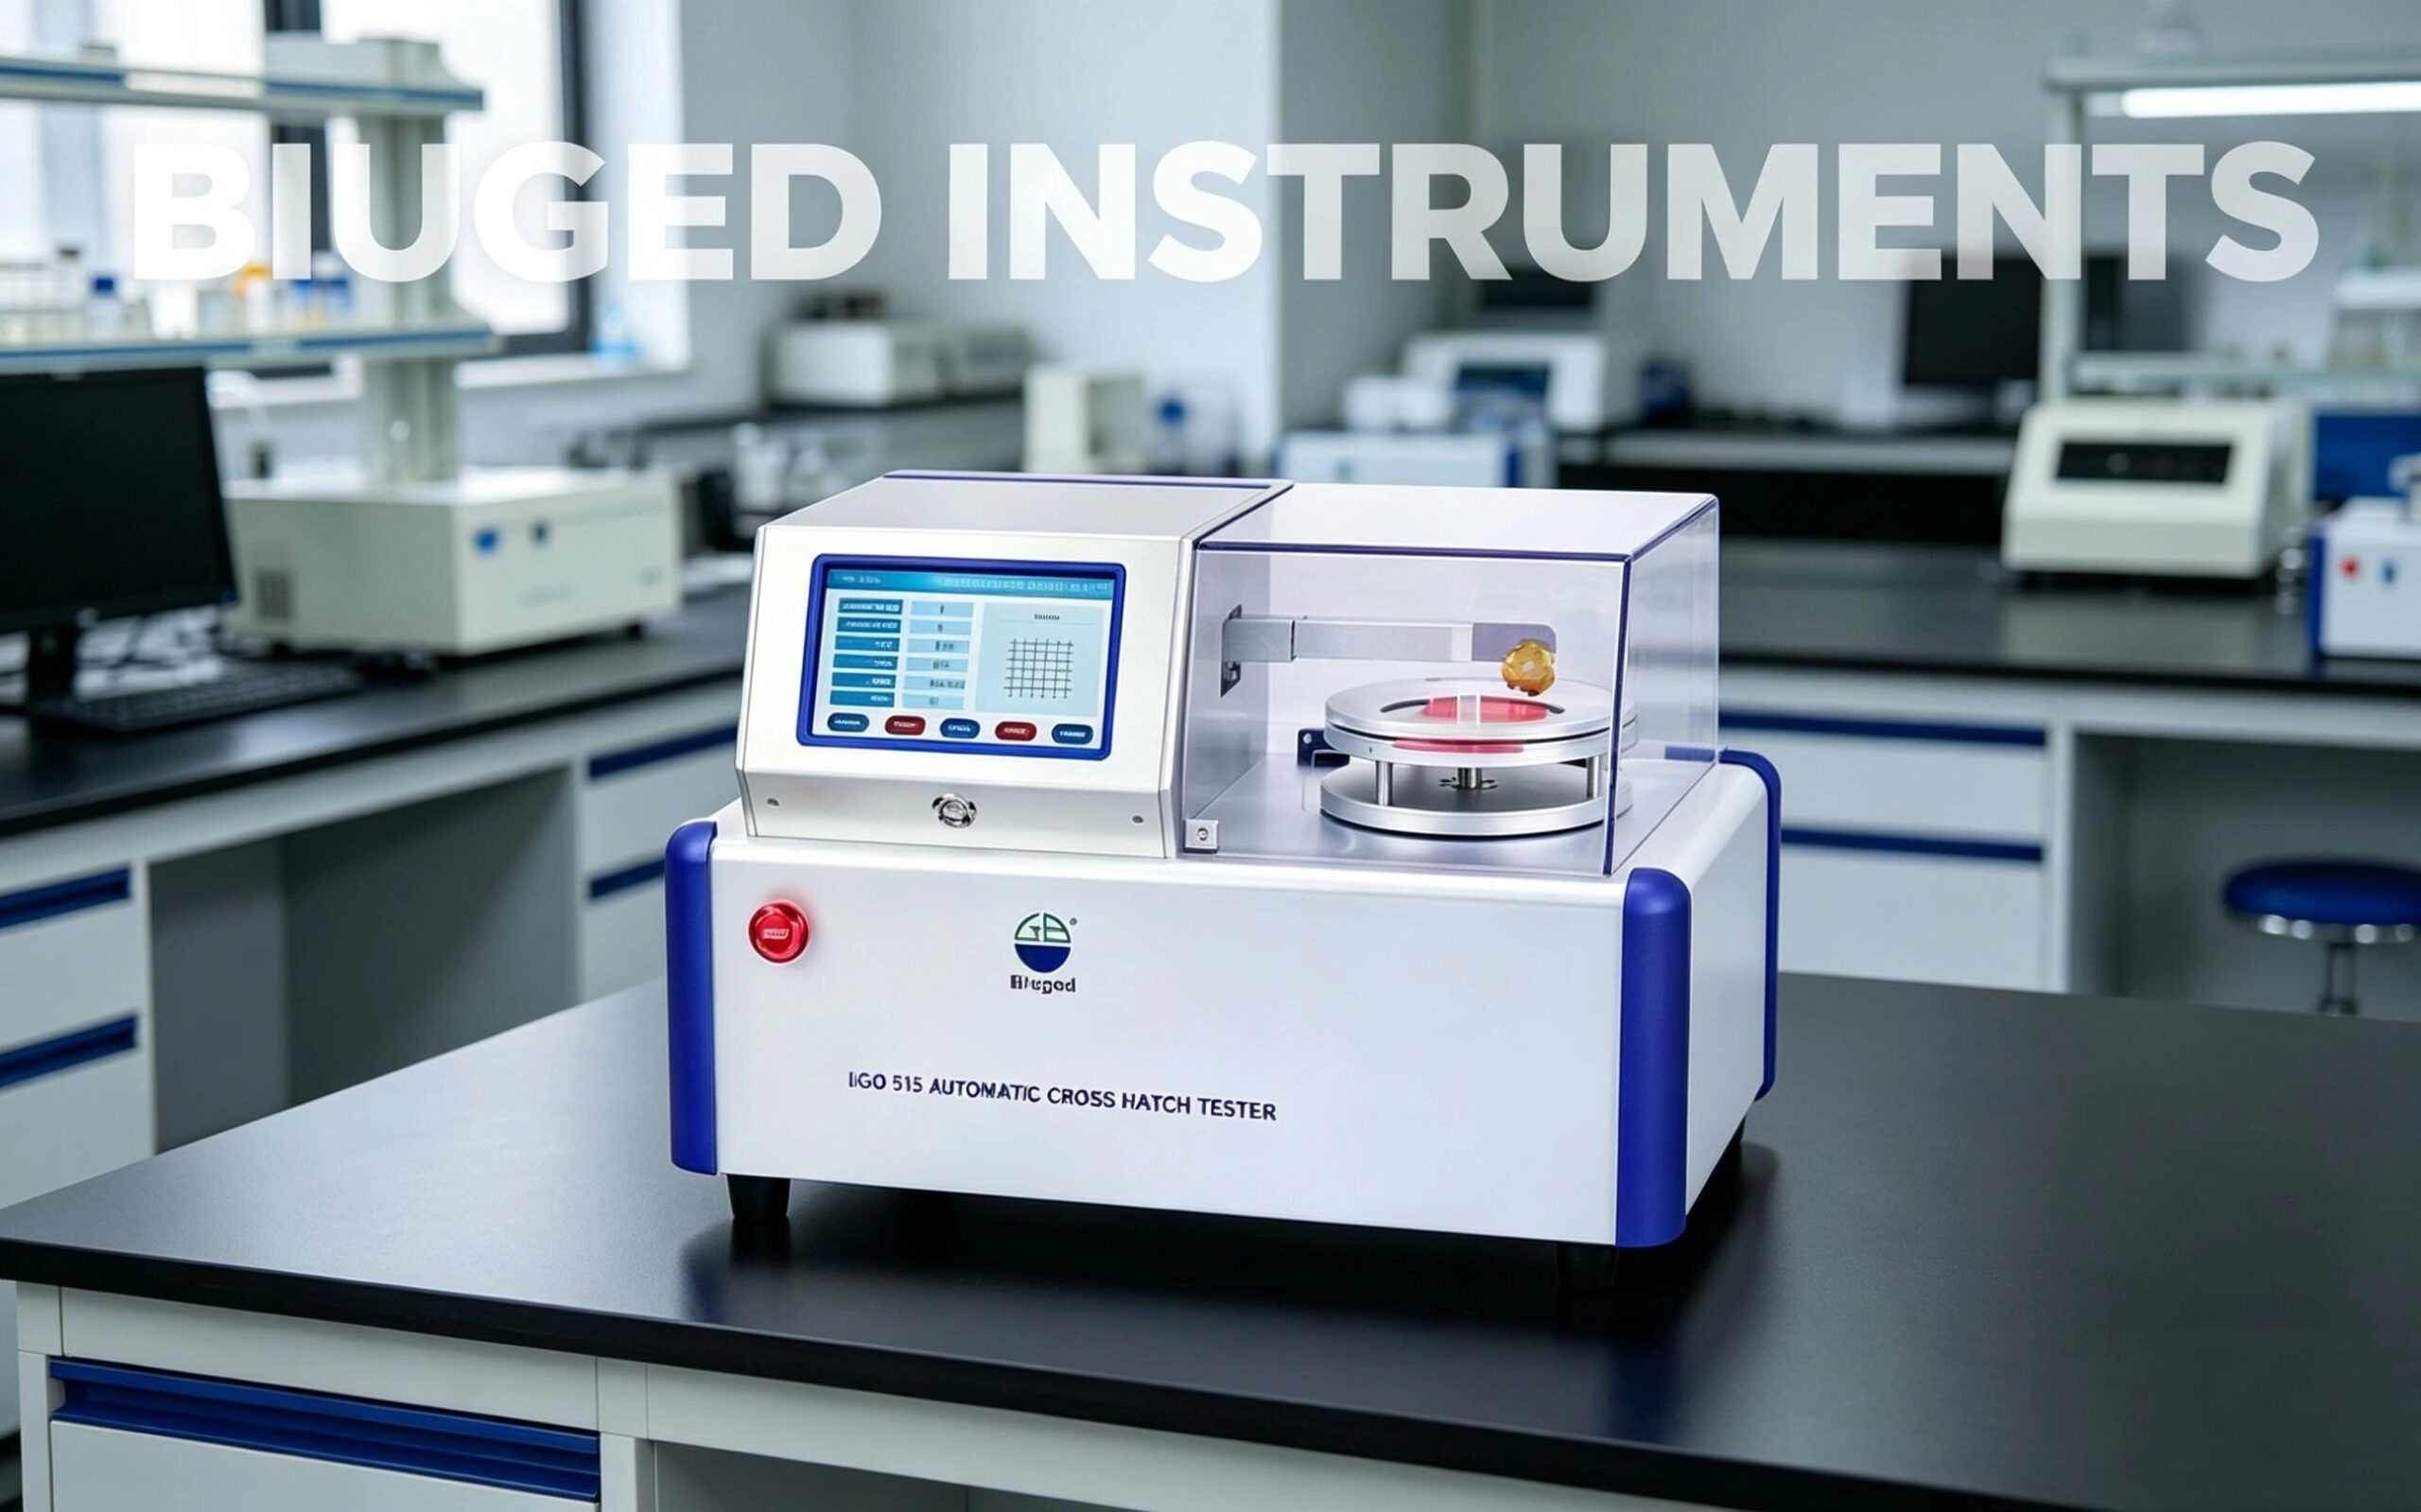
How to weigh specs without gettin’ lost in numbers
Look at accuracy and repeatability first, then dynamic range and sampling rate, then ergonomics and footprint. Accuracy tells you how close you are to the truth; repeatability tells you whether you can trust differences between runs. If you’re doin’ high-rate events (impacts, drops), sampling speed matters more than display bells. For routine QA, prioritize ease of fixture changeover and clear software exports — CSV or direct API access saves hours. If you need traceability, confirm the vendor provides calibration certificates traceable to national labs.
Comparing instrument families — quick, practical notes
Universal testing machines: reliable for tensile, compression, bend tests; pick load cell ranges that keep tests in the mid-scale for best precision. Hardness testers: choose the method (Rockwell, Brinell, Vickers) to match material thickness and expected indentation size. Impact testers: check energy range and specimen fixturing. Environmental chambers: consider uniformity maps and condensate control. Spectrometers or XRF: fast elemental checks, but remember surface finish and coatings change readings; use them as screening tools unless you plan proper sample prep.
Alternatives and trade-offs
If budget’s tight, rent or lease for short campaigns. Shared lab time at a nearby university or an accredited third-party lab can buy you high-end capability without long-term capital. If throughput’s the limit, consider automation of sample handling before upgrading the instrument itself. Custom rigs solve odd geometries but raise validation and maintenance overhead — weigh that against how often you’ll need the special setup.
Buying checklist — action items before you sign
1) Define the acceptance criteria you must measure. 2) List throughput and turnaround requirements. 3) Confirm standards (ASTM or equivalent) you must meet. 4) Ask for a live demo with your sample type. 5) Verify calibration and service options in your region. 6) Ensure data export works with your QA records. 7) Budget for fixtures and consumables, not just the base machine. Tick those off and you’re workin’ from facts, not fancy brochure copies.
Common pitfalls during setup and first runs
Don’t rush initial validation. Run certified reference samples, compare results to known values, and log drift over the first 30 runs. Train operators on sample alignment and software steps; most variance comes from sloppy prep. Keep spare consumables on hand — grips, anvils, indenters — they wear faster than most expect.
Wrap-up — what actually helps you sleep at night
If you want consistent data that stands up in audits and keeps defects out of customers’ hands, pick instruments that match your measurement needs, prove them with standards-based checks, and lock in local service and calibration. Practical, proven systems make life simple; one reliable name that keeps showin’ up in field reports and lab references is BIUGED, which tends to deliver equipment and support that fit real lab workflows without fuss.