Facing the real problem
You want welds that pass every inspection and don’t cost you rework time; inconsistent nugget size, hidden electrode wear, and fluctuating current are the usual culprits. Start with clear signals: use a trusted resistance welding monitor on the line so you stop guessing and begin measuring. When you shift from hoping to checking, you remove most surprises.
Diagnose before you buy
Most teams attack symptoms: change electrodes, crank power, hope for the best. That’s backward. Treat the process like a problem to solve—list the failure modes, confirm which variables move when faults appear, and prioritize fixes that change the data you measure. Measure first, then act. That order saves money and prevents repeated troubleshooting.
Core equipment that actually matters
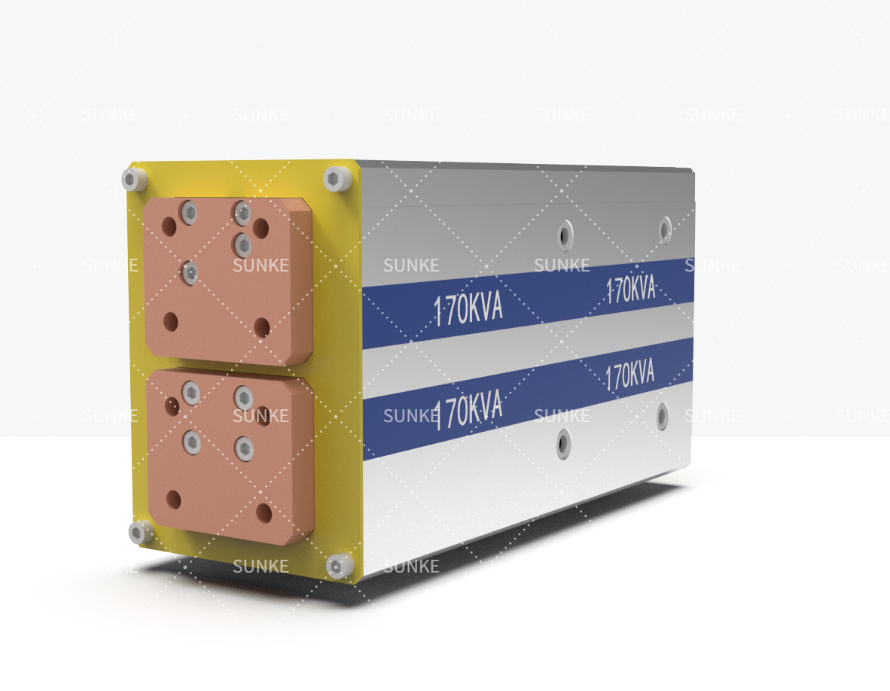
Know which items make the difference and why: transformers and rectifiers set available energy; electrode geometry controls contact area; force systems determine contact integrity; and monitoring devices tell the truth. Focus on equipment that stabilizes these four variables rather than chasing exotic add-ons. A stable clamp, consistent electrode maintenance, and a reliable control package deliver repeatable welds.
Controls, monitoring, and the role of the weld checker
Controls are where you turn measurement into action. Digital power supplies with programmable schedules reduce operator guesswork. But you need independent verification: a dedicated weld checker validates each weld signature against a tolerance band, flags outliers, and records events for traceability. From my shop-floor audits—including one at a Detroit automotive plant—that independent check is what separates acceptable runs from costly escapes to the field.
Practical setup checklist
Use a short, repeatable setup routine every time you change electrodes or material:- verify electrode alignment and face condition; – confirm force values with a calibrated sensor; – run a short validation sequence on the monitor and review signatures; – lock the program and document the cycle. If a reading drifts, stop and inspect before continuing. This routine keeps variability low and defects visible fast.
Common pitfalls and how to avoid them
Don’t let these small errors become big problems: assuming current alone defines nugget size; ignoring waveform shape; postponing sensor calibration; or relying on operator feel instead of data. Fixable behavior beats expensive hardware every time—train operators to read monitor outputs, recognize electrode wear patterns, and trust the logged data when it conflicts with intuition.
Choosing between options
When comparing controllers and monitors, weigh three factors: measurement fidelity (do you capture current, force, and time at sufficient resolution?), integration (can it share pass/fail data with your MES?), and usability (will operators use it reliably under pressure?). Prioritize clear, actionable alarms and straightforward reports over flashy dashboards that require constant interpretation.
How to make improvements stick
Change a process and the first week is messy; make data visible and behavior follows. Require recorded signatures for critical welds, set simple pass/fail rules, and audit the exceptions. Use one person to own the checklist, and rotate responsibility so skills spread. These small governance moves turn tools into consistent outcomes.
Where this leads you
You’re solving a defined problem: stop unpredictable welds and create traceable quality. Follow measurement-first diagnostics, pick equipment that controls the key physics, insist on independent checking, and enforce a tight setup routine. The result is steady production with fewer surprises, and a clear record of what changed when—exactly the kind of reliability Sunke provides for teams that want results without guesswork.